I recently got married in Hawaii. Sure, I enjoyed the beach (and maybe too many Mai Tais) but I also enjoyed a lot of art. Down town Lahaina is crammed full of shops featuring local art and a surprising amount of celebrity art. Ronnie Woods is brilliant! But I found myself being inspired by the vintage prints placed throughout the resort.
I wanted to capture the vintage look in an iPad project and found that vector art worked great. So today I'm going to show you how to do your own vintage art using the iDraw app. Your finished piece will look something like this:
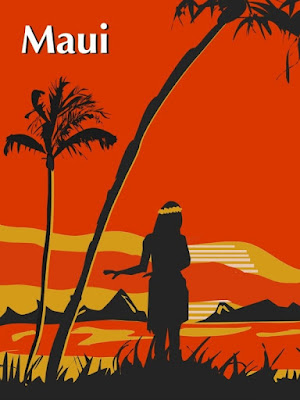
If you haven't all ready, you might want to check out my first blog on vectors where I go into detail on using the iDraw app before starting this one: http://flamingstylus.blogspot.com/2011/04/better-living-through-vectors.html.
Step 1: Create the Palm Trees
To start, we need to set the background color to red from the image settings menu.

You will want to mute your colors in this project to give it a vintage look.
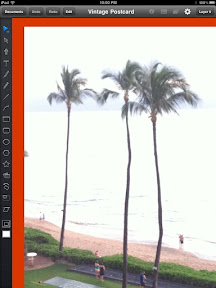
Next import an image of palm trees to use as a template. You can download the picture I used at this link: https://picasaweb.google.com/101992781047739709566/MyBlogPhotos#5611219019998840450.
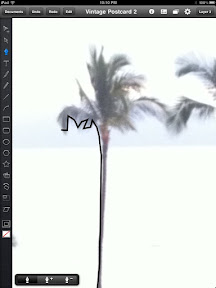
Use the Pen tool to trace a general outline of the palm trees point by point. Then set the object color to a muted black.
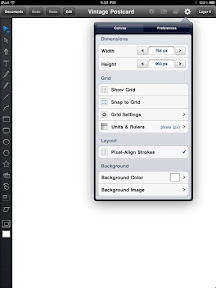
Tip: You can combine separate paths into one object using Union.
Use the pencil tool to add details to the palm tree. Once the palm tree is complete, set the outline to invisible. With the Pen tool, add a yellow line along the side of the palm tree.
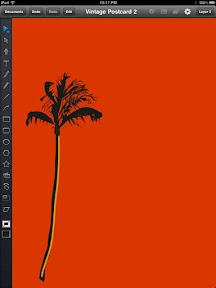
Set the layer to not visible and proceed to the next step.
Step 2: Create the Background Elements
For this project, we will use yellow accents to add depth and the feeling of motion.
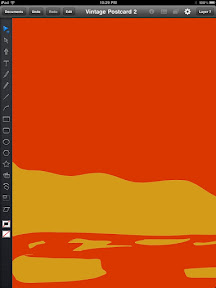
I drew these in using the pencil tool selecting a muted yellow with a bit of orange as the fill. I set the outlines to transparent.
Now draw in a sun. Create horizontal bars using the line tool with the width set to 6. Use a muted white as the line color.
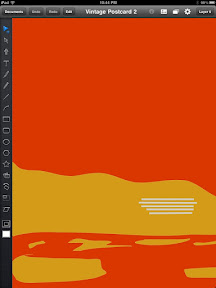
You see suns drawn this way in a lot of surf and skateboard art.
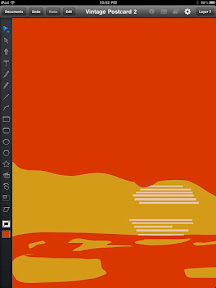
It doesn't have to be perfect. We'll cover up any imperfections with the next couple of elements like the stylized cloud below.
Using the Pen tool, create a shape stretching across the horizon allowing the background elements to peek through. Set it to the same color as the background.
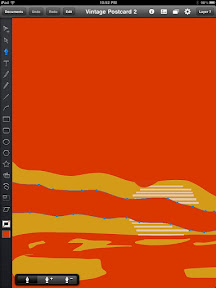
On a new layer, use the Pen tool to create islands along the horizon. Set the fill to a muted black and set the outline to transparent.
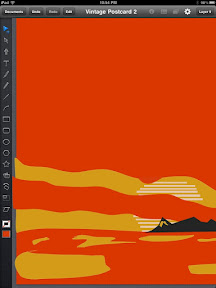
Draw in yellow highlights along the islands.
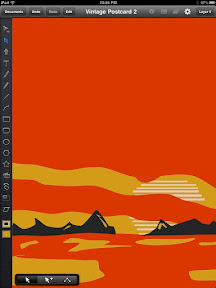
You can see all the elements coming together nicely now. Let's proceed with creating the foreground elements.
Step 3: Create the Foreground Elements
On a new layer, use the Pen tool to create grass shapes in the foreground. Set the fill to a muted black and the outline to transparent.
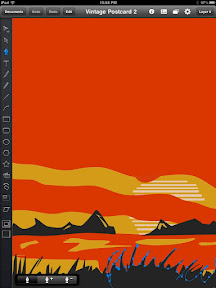
Now set the palm tree layer to visible and adjust any of the elements that might need lining up, adjust the order of layers, or adjust any colors to blend.
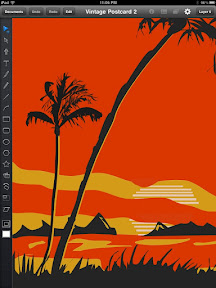
Now for the final touch, we will add a hula girl to complete our piece. On a new layer import a photo for reference.
I found the one below using Google image search with the term "Hula Girl." We will be just creating a silhouette from the image so don't get hung up on the image being perfect. You mainly want to capture the position of the hands and the texture of the grass skirt.
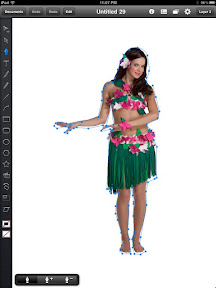
Using the Pen tool, trace an outline of the subject. Set the fill to black and the outline to transparent.
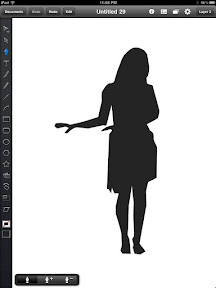
Now remove the photo reference and adjust the layers, placing the Hula Girl between the foreground and the background layers. Using the Pencil tool, draw in a crown of flowers to accent the girl. Set the fill to yellow and the outline to transparent.
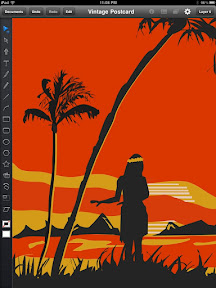
To give your image a poster look, you can add a title to your piece. I used the Optima Bold font with a shadow effect for the title below.
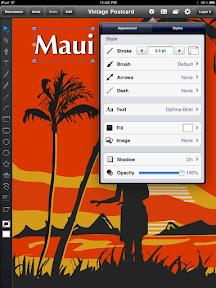
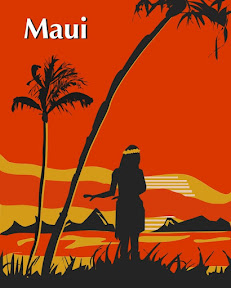
Export the image to Photo Gallery for sharing. I cropped my image further using Photogene to set it to poster dimensions.
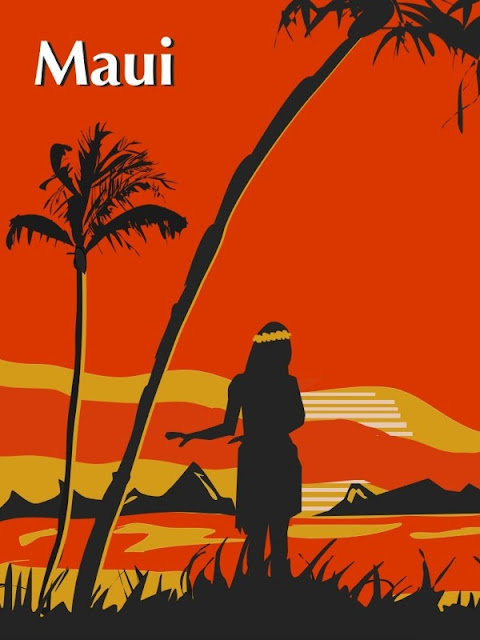
And that's it. Drop me a comment if you have any questions or just want to share your own artwork. Until next time, Aloha.
-Milo
Posted using BlogPress from my iPad
Products Used:

iDraw
hey thanks for taking all the time you must of spent creating this info/ leason. it is awesome and very helpful. very new stuff for me. but i am going to give it a try.
ReplyDeletethanks much,
shraybronze
This comment has been removed by a blog administrator.
ReplyDelete